Post by CaptDAR on Jun 10, 2021 12:18:36 GMT
As all owners of the Umarex Colt SAA are aware, the barrel can become loose and wobbly. This has recently happened to one of mine, the 7.5" rifled Army version. Hopefully this guide will help others in the same situation and show that the repair is fairly simple with the correct tools.
The repair from start to finish was not hurried and took one hour.
Firstly assemble all the tools and other items you will require.
Suitable work mat, Tool set, 1.5mm drift pin tool, Hammer, Measure, Tape, Scissors, Knife, Paper, Pen, Cleaning cloths, grease and a tincan.
 Colt SAA loose barrel repair by CaptDAR, on Flickr
Make sure the pistol is inert and that the co2 capsule has been removed.
 Colt SAA loose barrel repair by CaptDAR, on Flickr
Tape the loading gate so it will not open and you may loose its spring and ball.
 Colt SAA loose barrel repair by CaptDAR, on Flickr
Place the pistol barrel to left so that the 6 left side frame plate screws can be removed. These are different lengths so draw the locations on paper and as you remove them place them on each spot.
 Colt SAA loose barrel repair by CaptDAR, on Flickr
Safely place them to the side.
 Colt SAA loose barrel repair by CaptDAR, on Flickr
Gently lift off the frame plate trying not to allow and springs to jump out. Take a photo to help with re-assembly if necessary.
 Colt SAA loose barrel repair by CaptDAR, on Flickr
Removed the cylinder and pin watching that the cylinder indexer arm does not pop out. Leave the arm in the rested position.
 Colt SAA loose barrel repair by CaptDAR, on Flickr
Now tape over the action to hold everything in place while you work now on the pistol barrel.
 Colt SAA loose barrel repair by CaptDAR, on Flickr
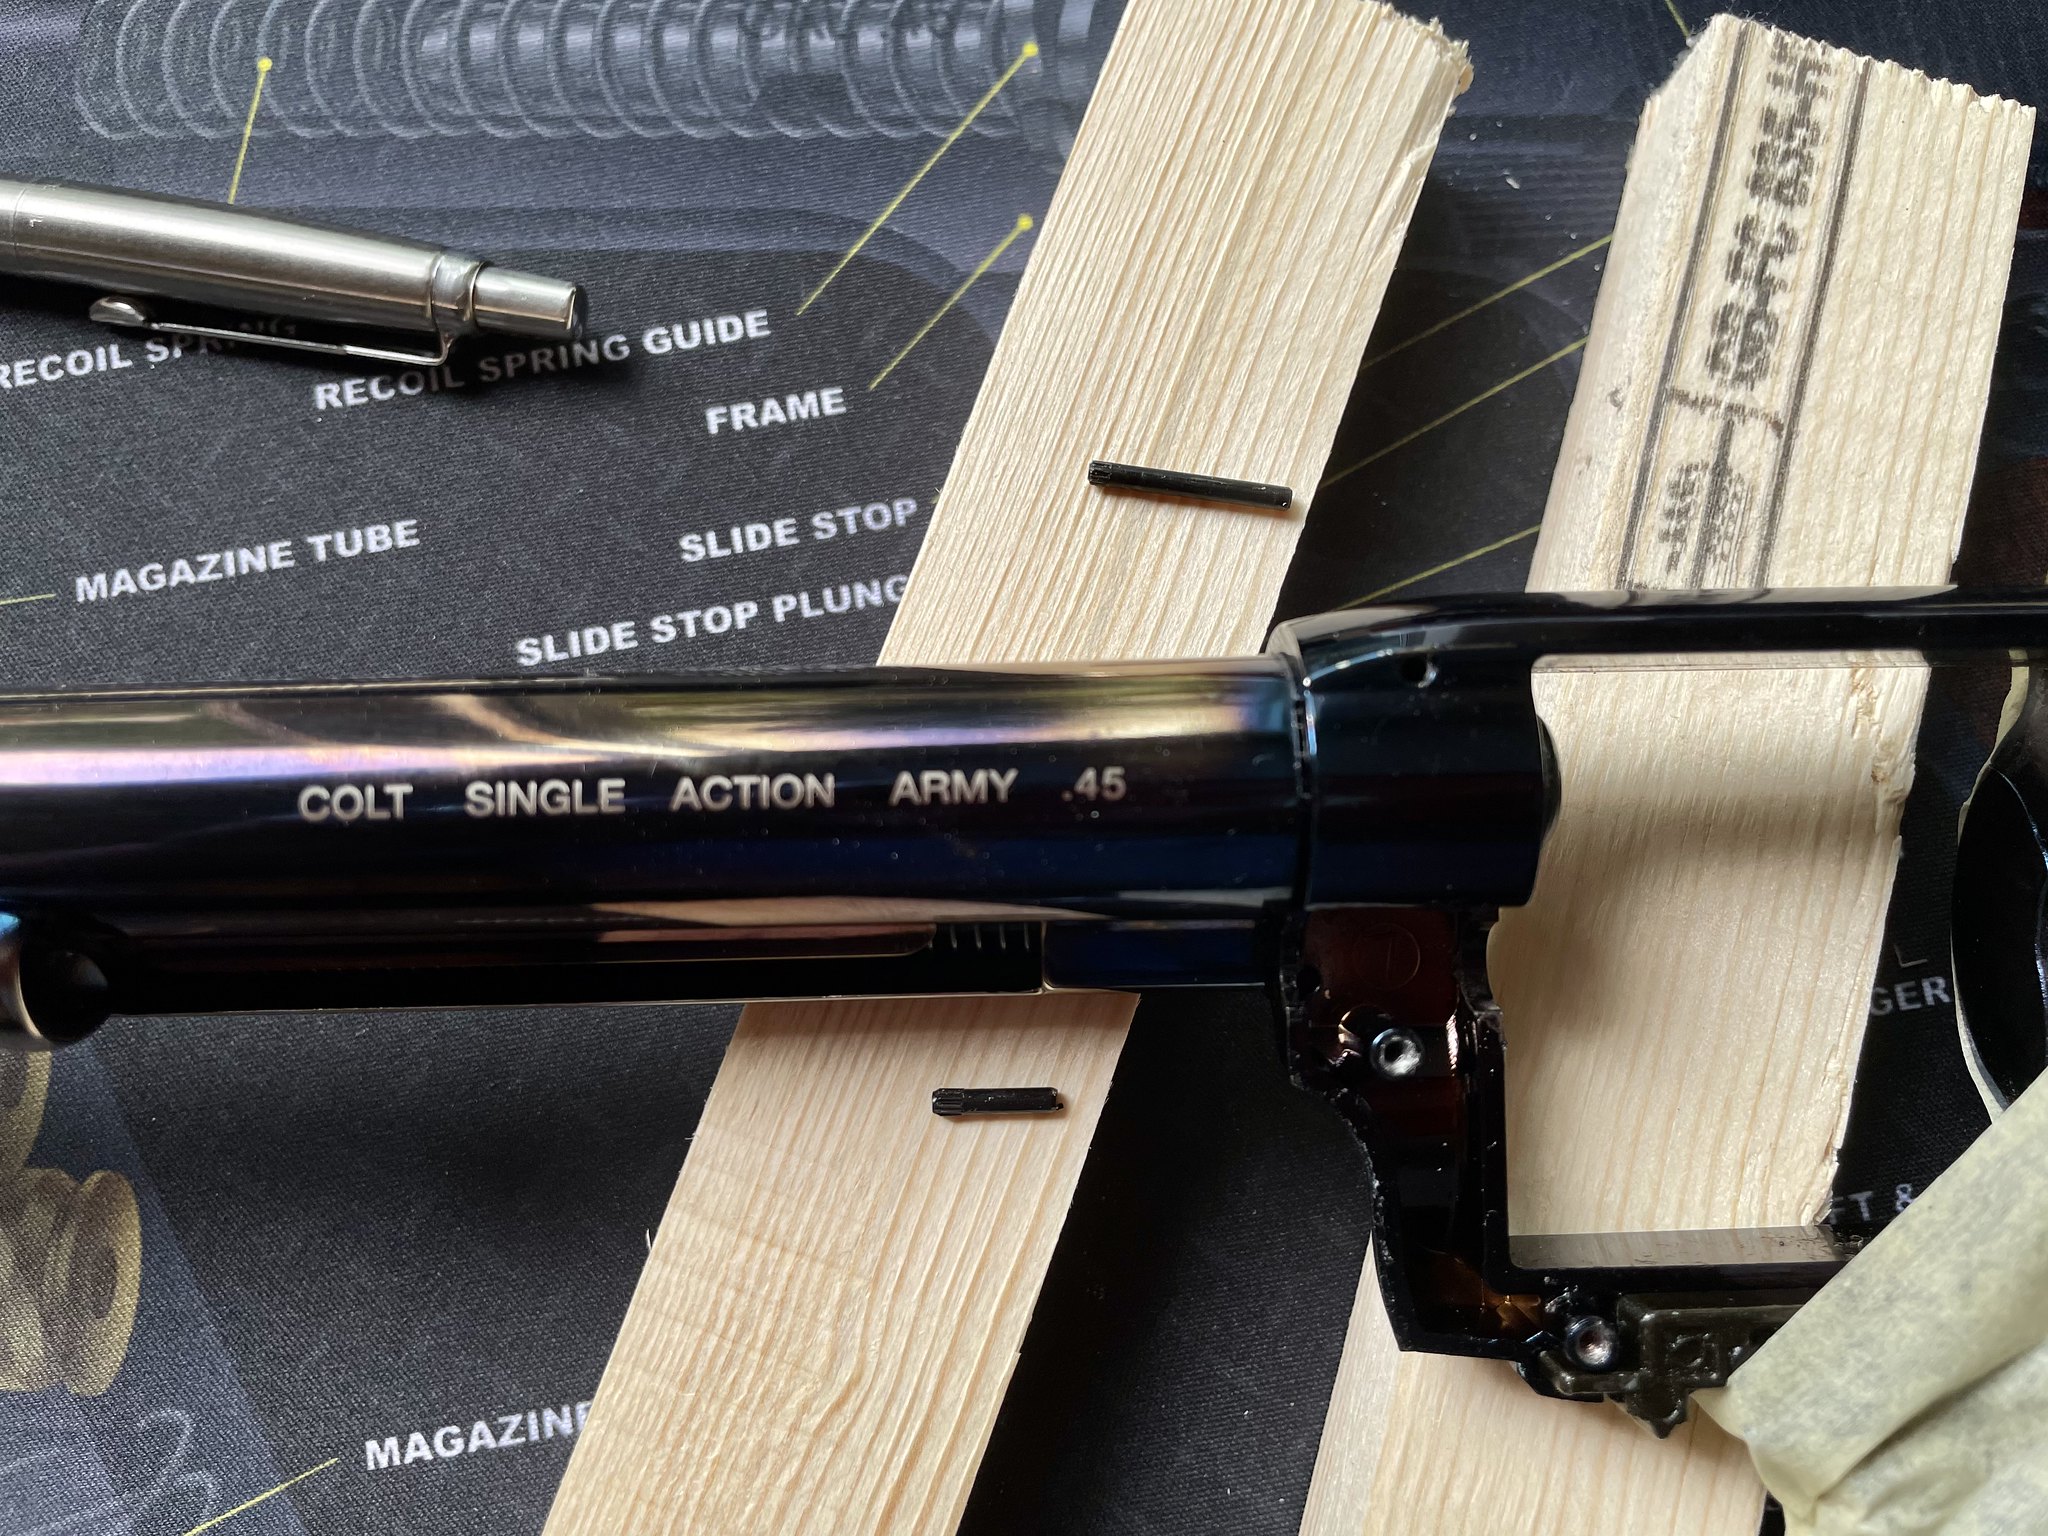
To allow the barrel and outer shroud to be removed you have to drift out two spine pins. These must be knocked out from left to right using a 1.5mm drift tool.
 Colt SAA loose barrel repair by CaptDAR, on Flickr
 Colt SAA loose barrel repair by CaptDAR, on Flickr
 Colt SAA loose barrel repair by CaptDAR, on Flickr
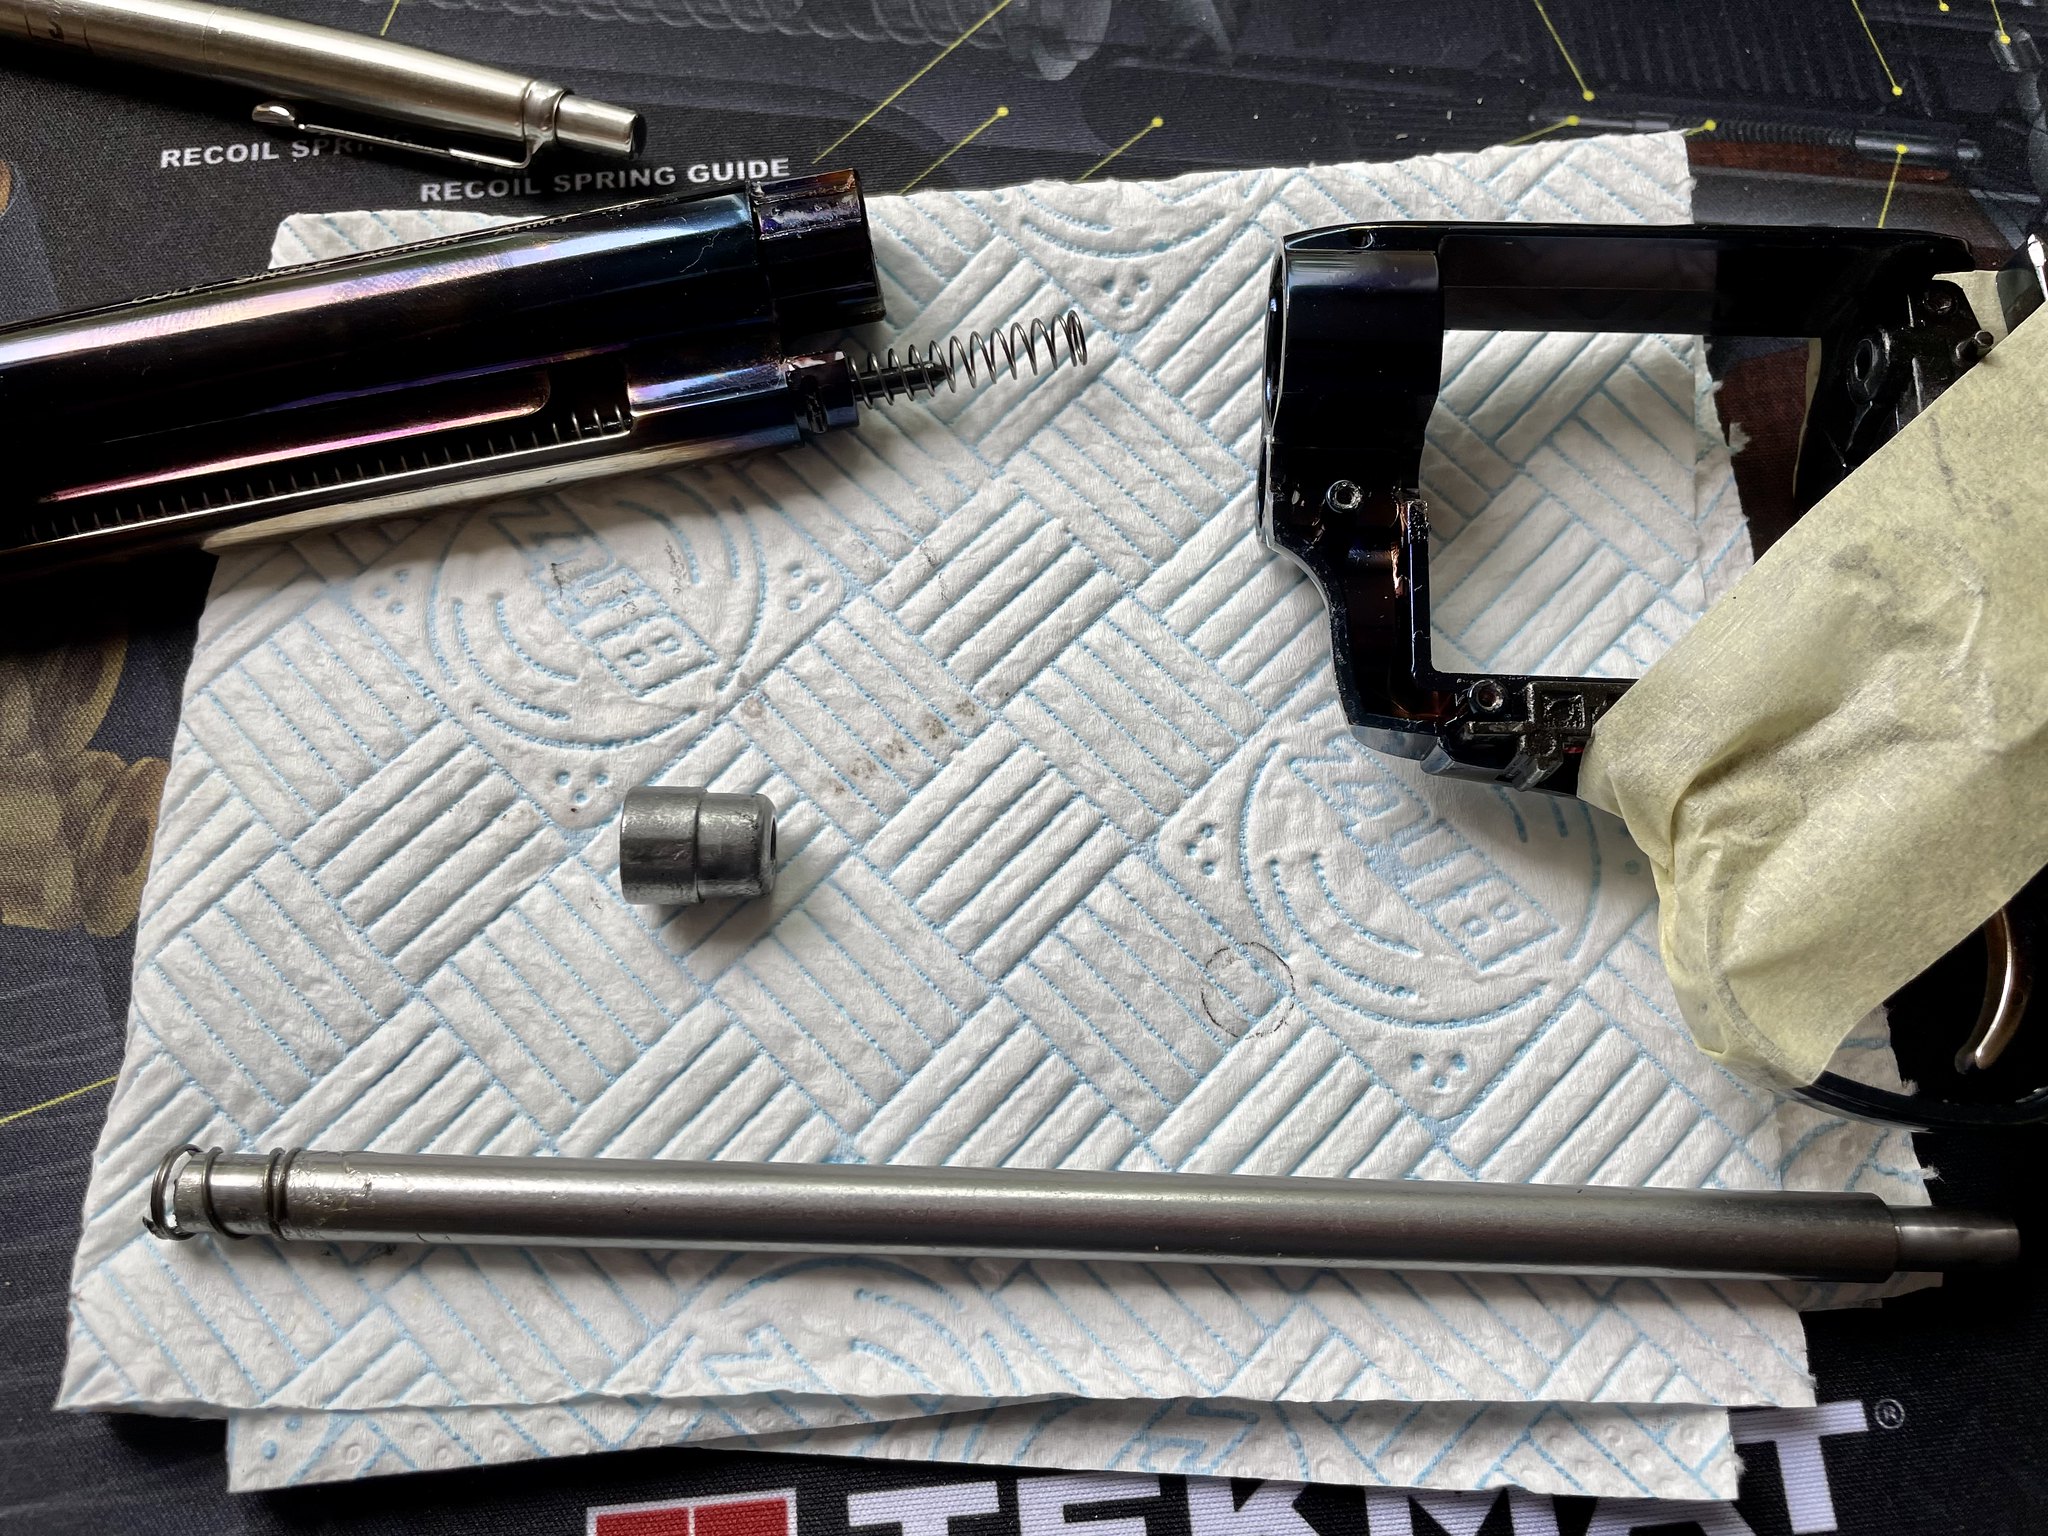
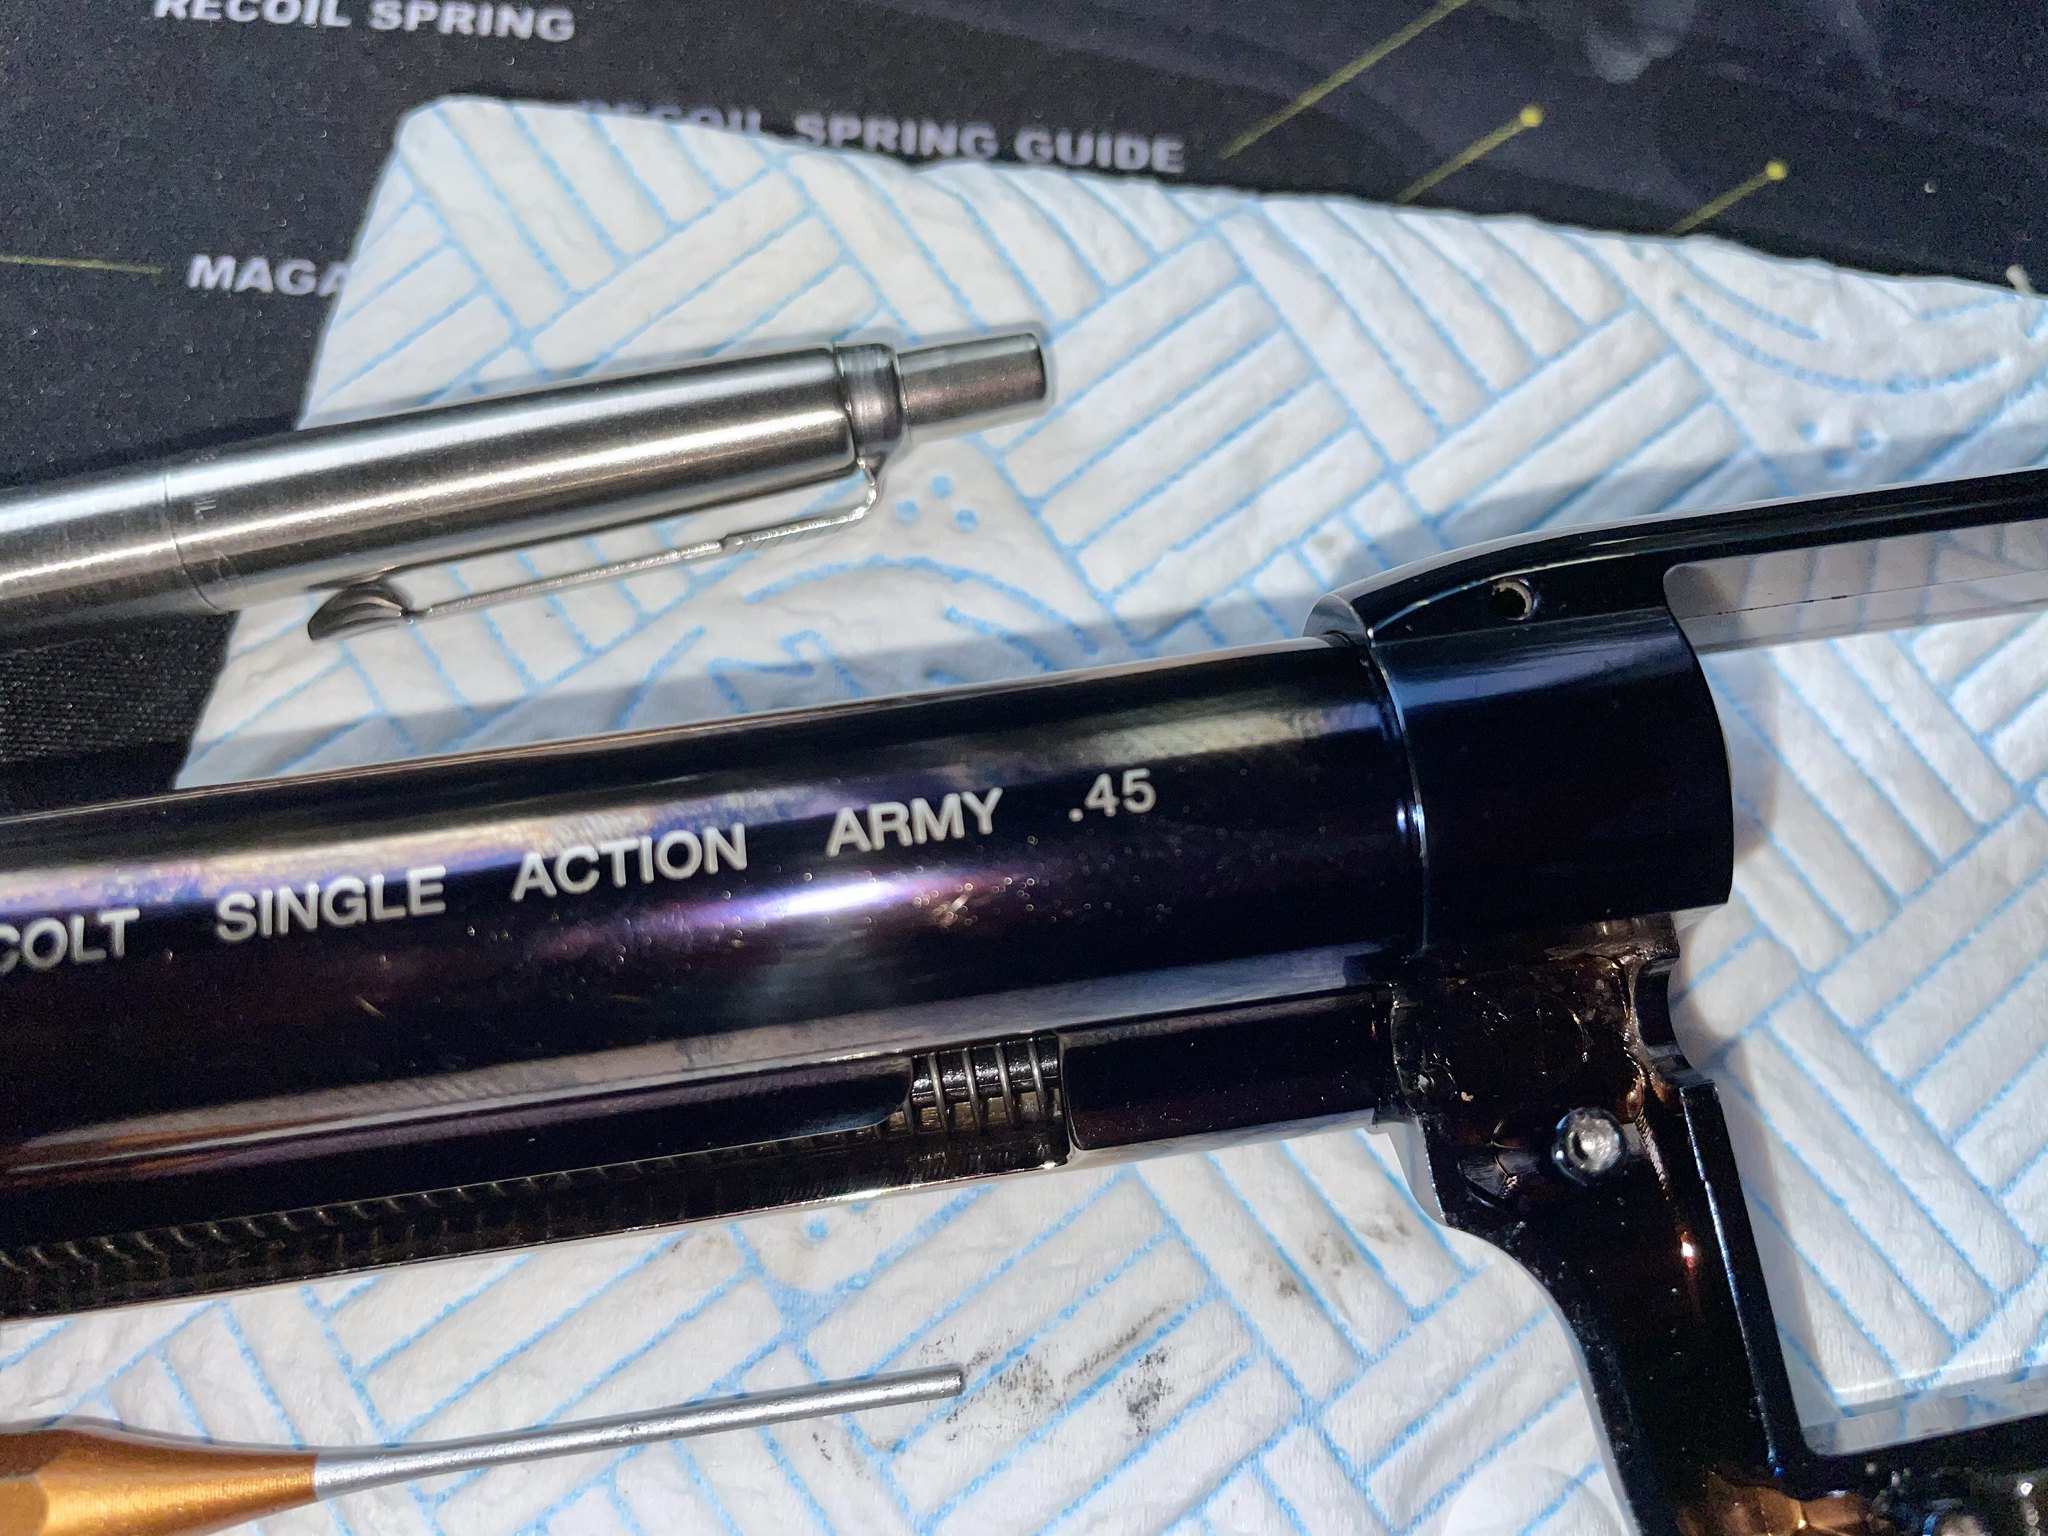
The outer shroud with the inner barrel can now be pulled out.
 Colt SAA loose barrel repair by CaptDAR, on Flickr
 Colt SAA loose barrel repair by CaptDAR, on Flickr
The shim you are going to fit will be wrapped within the inner recess of the shroud collar.
 Colt SAA loose barrel repair by CaptDAR, on Flickr
From a piece of aluminium can,
 Colt SAA loose barrel repair by CaptDAR, on Flickr
Cut out and fashion the shim to the size you require.
 Colt SAA loose barrel repair by CaptDAR, on Flickr
Place inside the shroud collar.
 Colt SAA loose barrel repair by CaptDAR, on Flickr
Hold in place and press shroud and barrel assembly back into the frame.
 Colt SAA loose barrel repair by CaptDAR, on Flickr
 Colt SAA loose barrel repair by CaptDAR, on Flickr
Reassemble the pistol. Check if there is any barrel movement. Have the beverage of your choice.
 Colt SAA loose barrel repair by CaptDAR, on Flickr
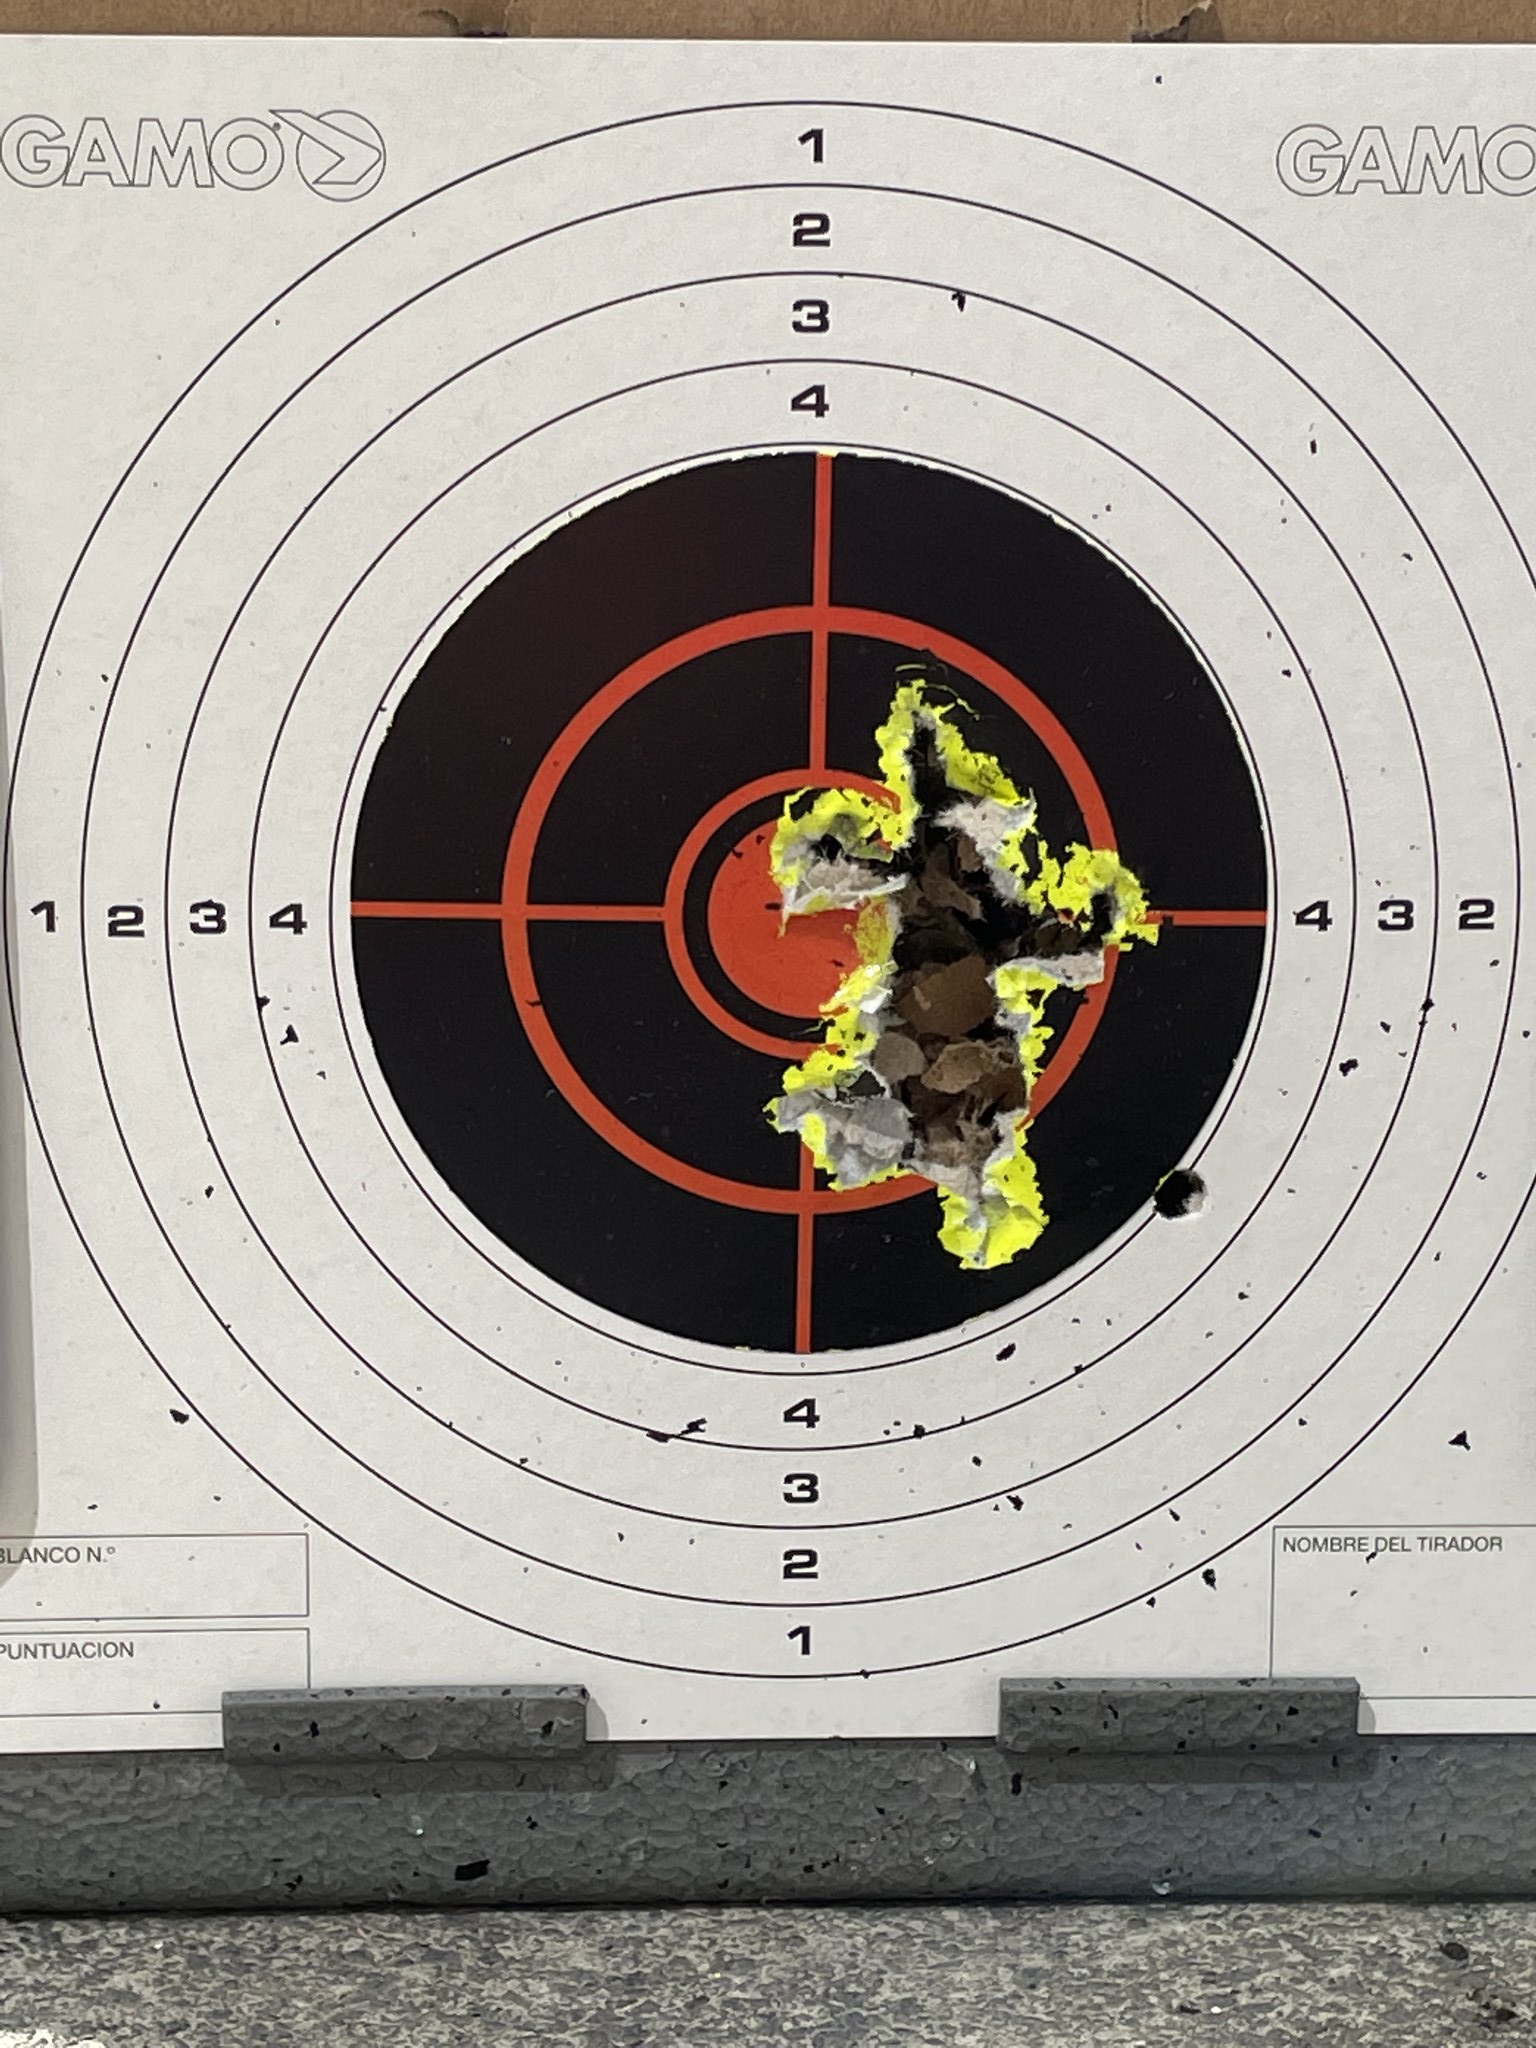
Test shoot your now repaired Colt for accuracy at your normal range. This was 36 shots at 6 yards weaver hold.
 Colt SAA loose barrel repair by CaptDAR, on Flickr
The repair from start to finish was not hurried and took one hour.
Firstly assemble all the tools and other items you will require.
Suitable work mat, Tool set, 1.5mm drift pin tool, Hammer, Measure, Tape, Scissors, Knife, Paper, Pen, Cleaning cloths, grease and a tincan.
 Colt SAA loose barrel repair by CaptDAR, on Flickr
Make sure the pistol is inert and that the co2 capsule has been removed.
 Colt SAA loose barrel repair by CaptDAR, on Flickr
Tape the loading gate so it will not open and you may loose its spring and ball.
 Colt SAA loose barrel repair by CaptDAR, on Flickr
Place the pistol barrel to left so that the 6 left side frame plate screws can be removed. These are different lengths so draw the locations on paper and as you remove them place them on each spot.
 Colt SAA loose barrel repair by CaptDAR, on Flickr
Safely place them to the side.
 Colt SAA loose barrel repair by CaptDAR, on Flickr
Gently lift off the frame plate trying not to allow and springs to jump out. Take a photo to help with re-assembly if necessary.
 Colt SAA loose barrel repair by CaptDAR, on Flickr
Removed the cylinder and pin watching that the cylinder indexer arm does not pop out. Leave the arm in the rested position.
 Colt SAA loose barrel repair by CaptDAR, on Flickr
Now tape over the action to hold everything in place while you work now on the pistol barrel.
 Colt SAA loose barrel repair by CaptDAR, on Flickr
To allow the barrel and outer shroud to be removed you have to drift out two spine pins. These must be knocked out from left to right using a 1.5mm drift tool.
 Colt SAA loose barrel repair by CaptDAR, on Flickr
 Colt SAA loose barrel repair by CaptDAR, on Flickr
 Colt SAA loose barrel repair by CaptDAR, on Flickr
The outer shroud with the inner barrel can now be pulled out.
 Colt SAA loose barrel repair by CaptDAR, on Flickr
 Colt SAA loose barrel repair by CaptDAR, on Flickr
The shim you are going to fit will be wrapped within the inner recess of the shroud collar.
 Colt SAA loose barrel repair by CaptDAR, on Flickr
From a piece of aluminium can,
 Colt SAA loose barrel repair by CaptDAR, on Flickr
Cut out and fashion the shim to the size you require.
 Colt SAA loose barrel repair by CaptDAR, on Flickr
Place inside the shroud collar.
 Colt SAA loose barrel repair by CaptDAR, on Flickr
Hold in place and press shroud and barrel assembly back into the frame.
 Colt SAA loose barrel repair by CaptDAR, on Flickr
 Colt SAA loose barrel repair by CaptDAR, on Flickr
Reassemble the pistol. Check if there is any barrel movement. Have the beverage of your choice.
 Colt SAA loose barrel repair by CaptDAR, on Flickr
Test shoot your now repaired Colt for accuracy at your normal range. This was 36 shots at 6 yards weaver hold.
 Colt SAA loose barrel repair by CaptDAR, on Flickr


